Early Math in Projects: Part #3
In the last couple of blogs, I talked about children having the opportunity to represent buildings from the neighborhood using different materials. Children were also able to experience the buildings in different forms: seeing the building in person on a walk, reflecting on the photos of the buildings, constructing the buildings with table blocks and Legos, and drawing the buildings. In the next few steps, children made a shift from concrete to abstract in the way that they experienced the buildings.
After having experienced the buildings in these forms, we believed children were ready to design their own building. Before this step there were many conversations and read alouds that examined what a building needed in order to function such as walls, floors, windows, doors, roof, stairs, plumbing, etc.
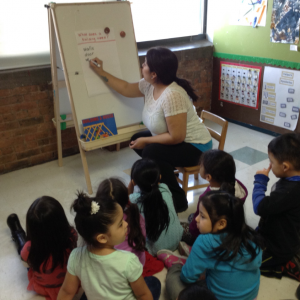
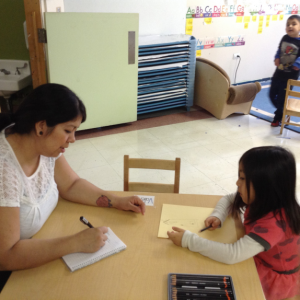
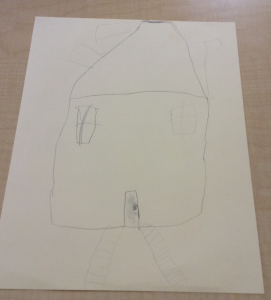
Children had the opportunity to design/draw their own building using graphite pencils and discuss with the teacher the details of their building. We chose graphite pencils because we wanted the children to be able to show as much detail in their sketch using the pencils with different graphite leads.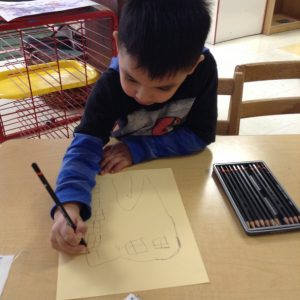 These different graphite leads meant different shades and thickness of lines were produced and children were able to use different pencils for different purposes. Children met one on one with the teacher before to discuss what they wanted their building to look like, during to describe what they were drawing and to answer any questions that the children may have, and after to review the design and give children another opportunity to talk about their building before actually building.
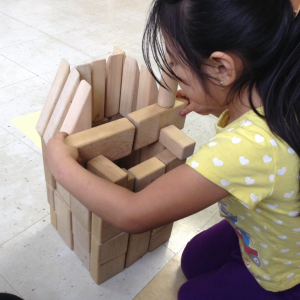
Once children were done with their design, they went to the block area to create their building with unit blocks. Children took their sketch with them and used it as a guide to construct their building. I was able to quickly see their vision come to life and it was great to see how motivated the children were to build and also talk about their building. This step gave the children the opportunity to design something using their previous knowledge of what a building is and applying it to their sketch and structure. Children’s structures varied in sizes and shapes.
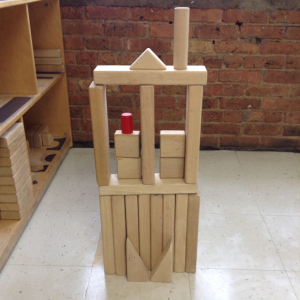
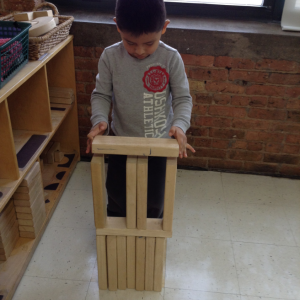
Math language started flowing naturally and in part of conversations. Children were talking about the quantity of blocks they used to represent specific features in their buildings and specific sizes such as how long, short, tall and wide some blocks needed to be in order to fit in their building or to support specific parts of the building like the roof or placement of windows. They addressed how they were to get in the building and showed an understanding of symmetry and spatial awareness when they wanted a specific block to work, but couldn’t so they had to place it in a different spot to make sure their structure was balanced. They were solving problems involving math!
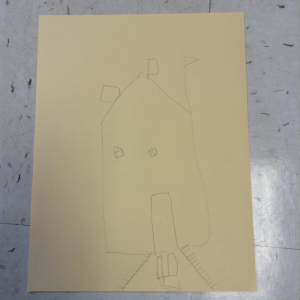
Once children were done building with the unit blocks, they were asked to draw what they had represented with the unit blocks and we called this step a building re-design. This new sketch was drawn with new ideas based on what they had learned in the previous steps. This new sketch was very similar to their original design, but it was also different in the sense that it was a lot clearer. Lines were crisper, sharper and their ideas were much more obvious in this second sketch.
Children were working very hard and were very eager to continue in the building project, especially now that they were creating something new and the design was theirs and belonged to nobody else. In the last blog, I will talk about the final steps and the reflection process that happened both within the students and teachers. I will include what worked well and what could’ve been changed and how this project changed the way I looked at math in my classroom for the better!
Very nice project to do with my children on class!