If I Had a Hammer
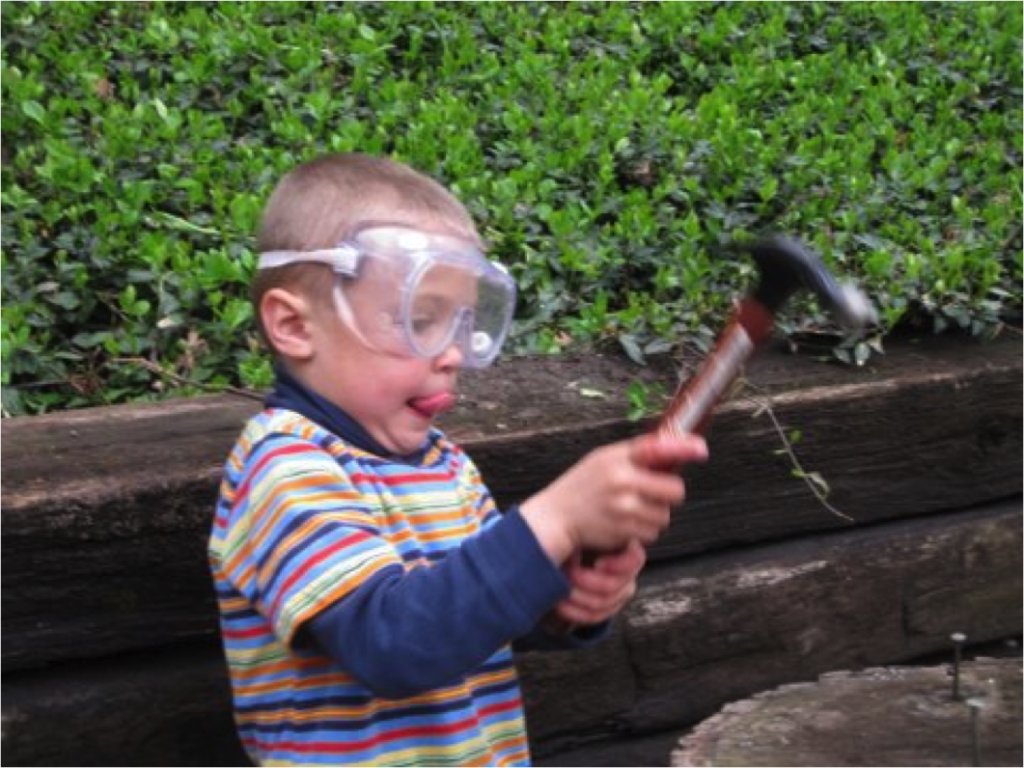
“I did it! Look! I did it! I hammered it all the way down!” shouts three-year-old Gabe with pride.
This is our preschoolers’ first day of learning how to hammer nails into stumps. “Playing with dangerous tools” is one of the top six activities that children enjoy when engaging in “risky” play. Risky play is about boundary testing, which leads to greater self-confidence, increased resilience and better risk-management skills. Today’s activity—which teaches life skills along with math and science—is a popular one with our preschoolers.
We want the children in our care to develop and understand relationships with objects, places and people. In math, we refer to these as spatial relationships. To help foster the development of spatial awareness, we must provide opportunities for young children to explore and investigate locations, positions, directions and shapes. As we build the foundation for spatial awareness, we are introducing children to geometry, perspective, measurement, size, composition and decomposition.
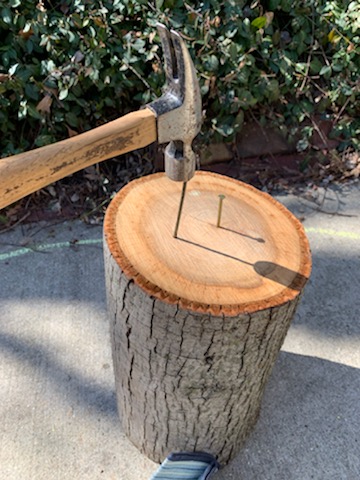
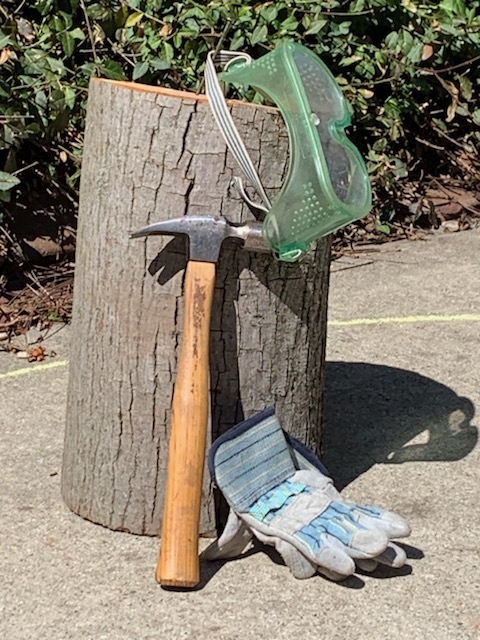
Children love tools, but we worry about safety, risk, liability and the comfort level of administrators and parents. Here’s how we “baby-stepped” our way into the world of tools. First, we prepared our logs by pounding large roofing nails into the top of each log:
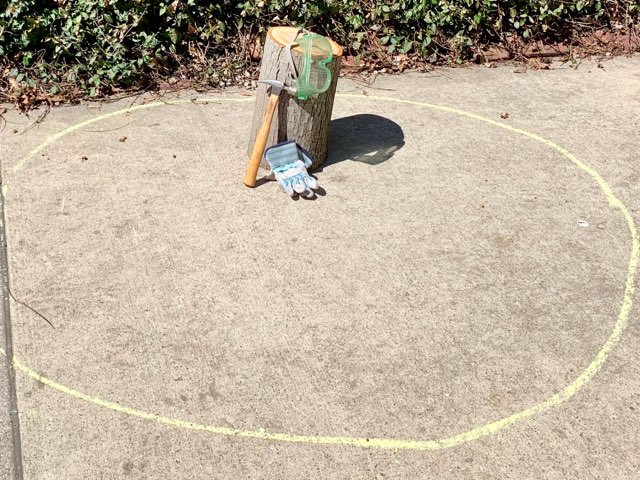
Then we set up a work area. We used chalk to draw a large circle around each log and explained that each circle represented a DANGER ZONE. These circles have proven to be very effective visual cues for our young learners. Before the hammering started, we discussed the following rules: “No one can walk into a DANGER ZONE except for the one child who will be hammering in that specific DANGER ZONE. One student, one stump, one hammer. No one can enter anyone else’s circle. The hammer doesn’t leave the circle.”
Our work area looked like this:
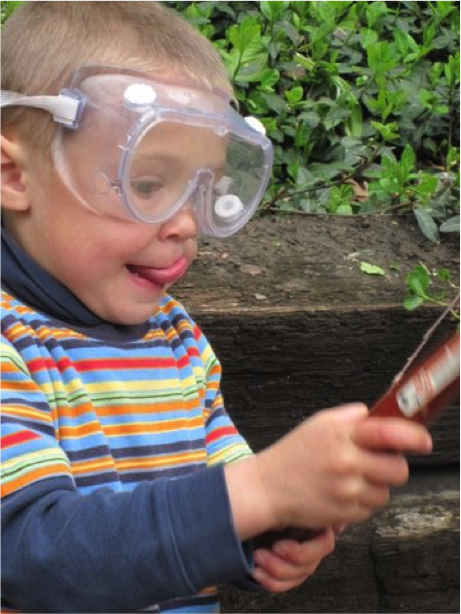
Next, we distributed safety glasses, hard hats and work gloves. If you are three years old and decked out in equipment like this, you know that you’re engaged in serious business right from the start. We quickly learned, however, that the hard hard hats slipped down over little faces, and that the gloves didn’t allow for a great grip because they were too large for little hands. You may have better luck, but we came to the conclusion that the Dollar Tree safety glasses were sufficient to convey the idea that this was “Serious Business” and dispensed with the hard hats and work gloves.
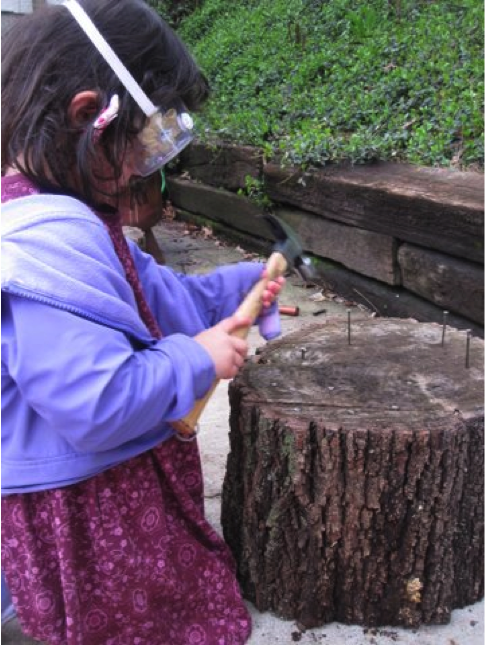
We didn’t have tools that were the right size for the children when we first introduced the use of tools at our center, so we used what we had. But don’t let that stop you. The children will figure it out. If the hammer is too big, they will grip the handle higher up for better control. This is problem-solving. When administrators and parents see the safeguards that you’ve put in place—as well as the skills and confidence that young children gain through this type of hands-on play—it will be easier to secure the funding that you need to buy child-sized tools for your little carpenters in the future.
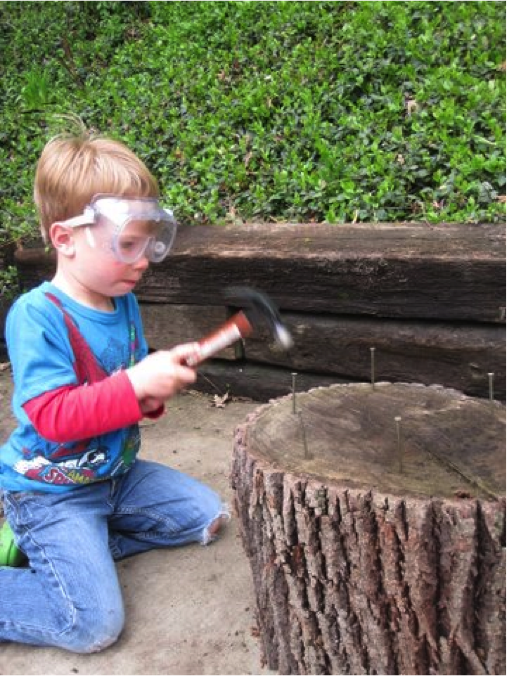
During the first week or two, the children will concentrate on simply hitting the nails. But, as time goes by, they will learn how to start the nails as well. As the children manipulate tools, they will learn about weight, balance, strength and the textures of the materials. They will develop better eye-hand coordination and dexterity, as well as fine-motor skills, which will help them hold a pencil when that time comes. Hands-on learning with tools also teaches children concepts such as problem-solving, counting and measuring.

Start out small. Baby step your way into playing with tools. The math and science are already incorporated into this toolbox. Trust yourself and the kids. If you build it, they will come.
Love this I remember doing this as a child, so many learning opportunities with this activity.
love this activity
This activity build self confidence as well!
Love this I remember doing this as a child, so many learning opportunities with this activity.
love this activity
Love this I remember doing this as a child, so many learning opportunities with this activity.
love this activity
Such a great idea! I bet those preschoolers are simply thrilled at the idea of being able to use hammers and nails.
Such a great idea! I bet those preschoolers are simply thrilled at the idea of being able to use hammers and nails.
Such a great idea! I bet those preschoolers are simply thrilled at the idea of being able to use hammers and nails.
This is a great activity to do with the children for them to learn how to use a “dangerous tool” and learn about it. It is a good moment to do a lesson and educate the children about the tools and what they are use for.
This is a great activity to do with the children for them to learn how to use a “dangerous tool” and learn about it. It is a good moment to do a lesson and educate the children about the tools and what they are use for.
This is a great activity! You can see how much the children enjoyed it!!!
This is a great activity! You can see how much the children enjoyed it!!!
Wearing safety goggles is so important and teaches the children about safety.
Wearing safety goggles is so important and teaches the children about safety.
Interesting, a great activity to learn about dangerous items and take car to handle it and how to use them
Interesting, a great activity to learn about dangerous items and take car to handle it and how to use them
Interesting, a great activity to learn about dangerous items and take care to handle it and how to use them
Interesting, a great activity to learn about dangerous items and take care to handle it and how to use them
It’s a interesting activity, this would be so much fun!
love the use of “real” things..nails/log
This is such a good idea and I like how you created a zone to keep the children out of danger.
The safety measures put in place can also be measured. For example, the size of the circle, the spaces between work stations, the height of the log. Great activity and it engages the children by using real tools!
Great idea! I’d like to use this for my class.
I really like that safety precautions were very well thought out. Of course, the teachers had some of their own problem-solving to do to make it go smoothly, and it did go well. Kids are able to work and problem-solve independently in a safe manner.
a great activity and children can learn a lot while having fun at the same time
Love this activity